The Most Complete Guide to Launching a Token on Solana: Creating ID + Adding Liquidity on Raydium + Burning Pools + Market Cap Management
Complete Guide to Launching a Token on Solana: Creating ID + Adding Liquidity on Raydium + Burning Pools + Market Cap Management
Introduction
As one of the world’s largest blockchains, Solana is becoming a hotspot for MEME tokens. With the rising MEME token trend, Solana is gaining widespread user adoption. According to data, over 500,000 tokens were created on Solana in May alone. How can you issue your token on Solana? This guide will walk you through the entire process step by step.
1. Preparations for Launching a Token
Before launching your token, you need to prepare the following:
- Wallet: Install a Phantom Wallet or alternatives like the OKX Web3 Wallet.
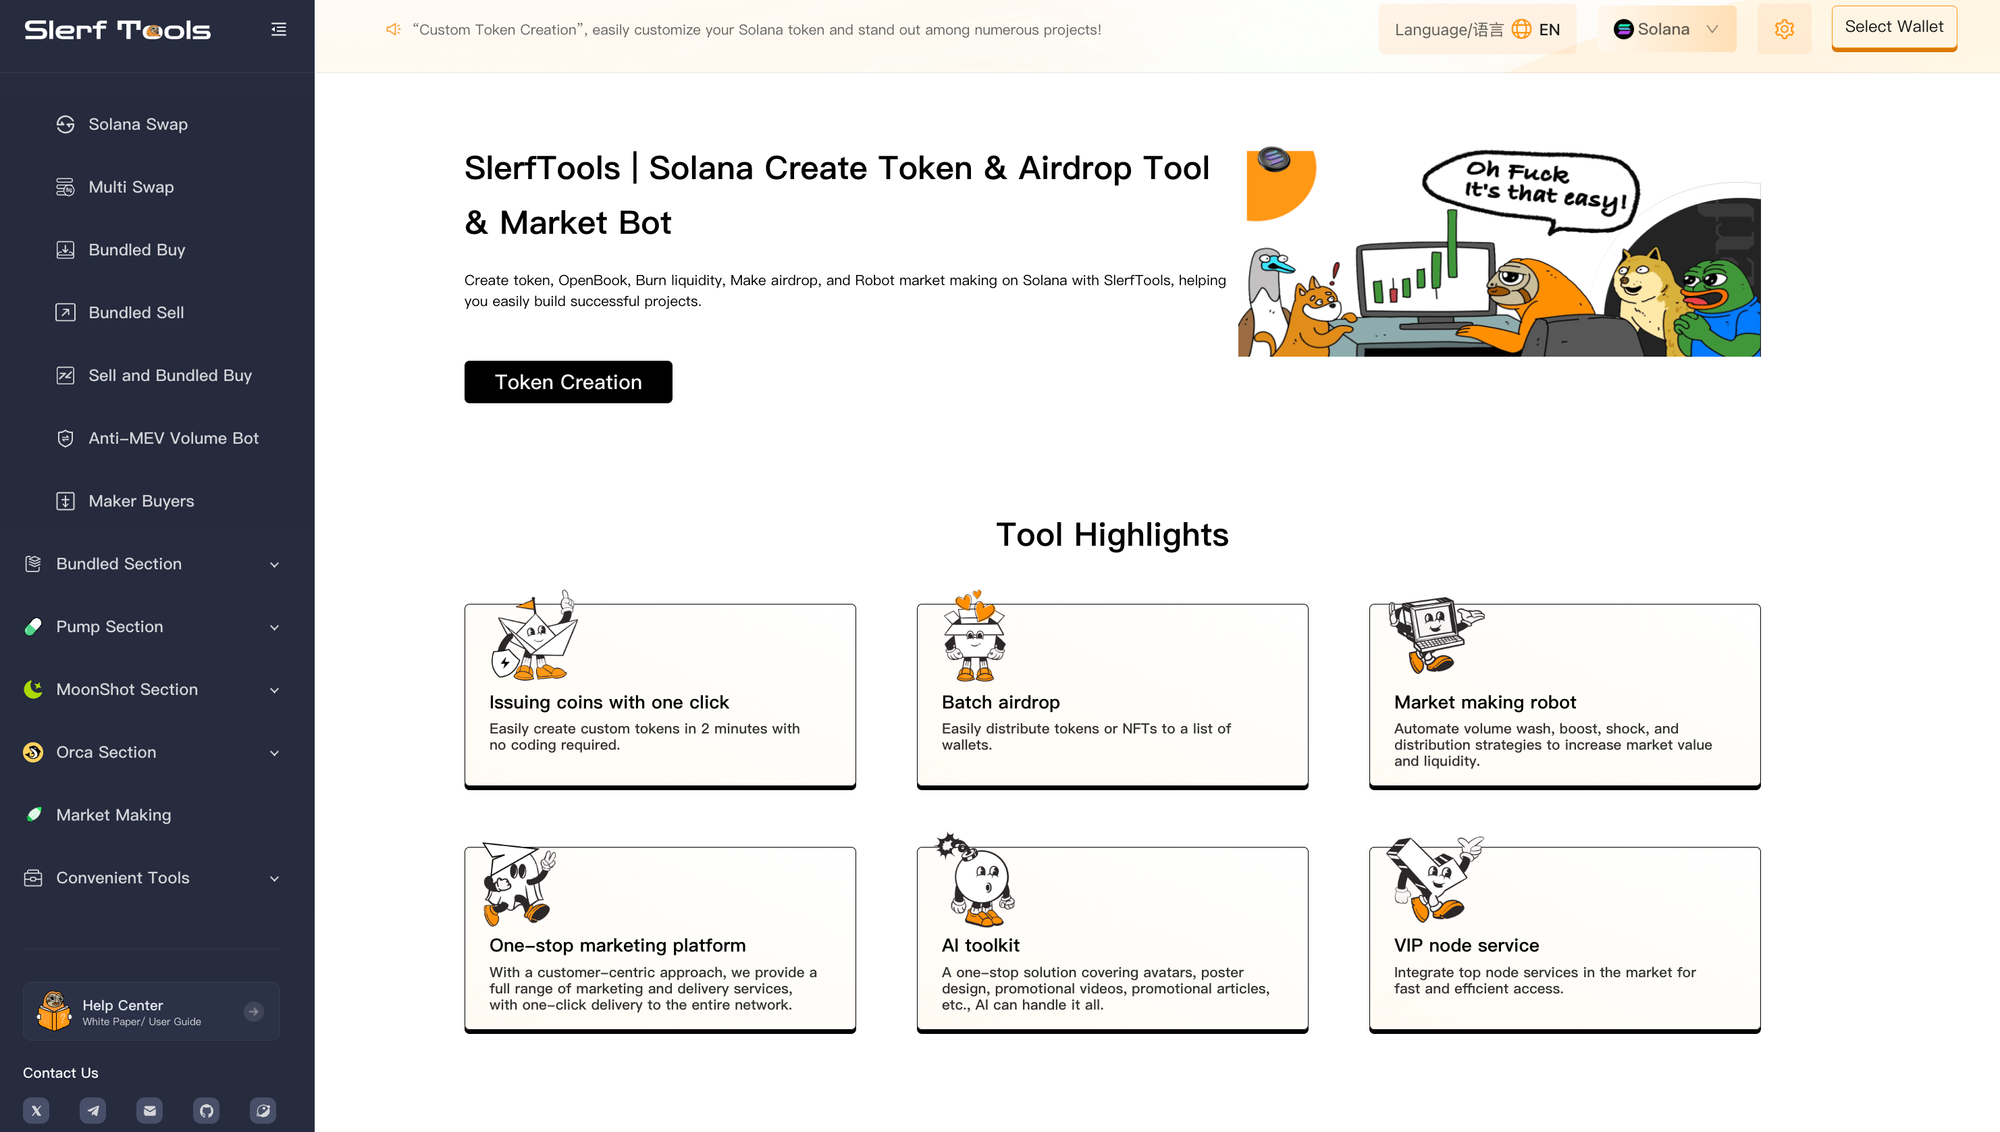
- Tool: Use a one-click token creation tool like SlerfTools, which is widely trusted and offers comprehensive features.
- SOL Tokens: Prepare enough SOL for gas fees, which are required for all Solana transactions.
- Hardware: Both mobile phones and computers work. For computers, both Windows and macOS are compatible.
2. Token Launch Process on Solana
After completing the preparations, here is a detailed 10-step process for issuing tokens on Solana:
1. Find a Token Creation Tool
There are multiple tools in the market for Solana token creation. SlerfTools is highly recommended due to its reliability, security, and strong reputation. It is one of the most widely used tools in the Solana ecosystem and has never encountered security issues.
SlerfTools Token Creation Page: https://slerf.tools/
2. Download and Connect Phantom Wallet
While Phantom Wallet is the most popular and widely accepted wallet for Solana, other options like OKX Web3 Wallet, Bitget Wallet, and Solflare Wallet can also be used.
Phantom Wallet Download Link: https://phantom.app/
3. Fill in Token Parameters
One-click token creation tools like SlerfTools simplify the process by allowing you to input parameters directly instead of coding. Required fields include:
- Token Full Name
- Token Symbol (Abbreviation)
- Token Decimals
- Token Supply
- Token Logo
Optional fields include:
- Token Project Website
- Token Project Telegram, Twitter, Discord
- Token Description and Tags
4. Confirm and Deploy Token on the Blockchain
Once the parameters are completed, deploy the token on the Solana blockchain. This requires wallet confirmation and a small fee.
- Cost: SlerfTools charges 0.2 SOL for token creation, with an additional 0.001 SOL for gas fees.
- After wallet confirmation, the process typically completes within a few seconds, and your token is successfully created.
5. Revoke Token Permissions
By default, Solana tokens have three permissions:
- Minting Authority: Allows creating additional tokens.
- Freezing Authority: Allows blacklisting token holders.
- Update Authority: Allows editing token metadata like name or symbol.
To ensure trust, revoke these permissions after token creation.
- How to Revoke Permissions:
Visit the SlerfTools Permission Management Page: https://slerf.tools/en-us/token-update/solana
Input the token contract address, select the permissions to revoke, and confirm the action via wallet.
Note: Freezing authority must be revoked to create a liquidity pool on Raydium.
6. Create OpenBook Market ID
To create a liquidity pool on Raydium V2, you must first create an OpenBook Market ID, which connects your token to Solana’s DeFi ecosystem for trading and liquidity management.
- Steps:
Open the SlerfTools Market ID Creation Page: https://slerf.tools/en-us/openbook-market/solana
Connect your wallet and input the following:- Base Token: Your token’s contract address.
- Quote Token: The paired token, such as USDT or SOL.
- Minimum Order Size and Minimum Price Increment: Set the decimals and precision for orders.
- Cost: Creating an ID with SlerfTools costs 0.4 SOL, significantly cheaper than other methods.
7. Add Liquidity on Raydium V2
Raydium is the most flexible platform for liquidity pools on Solana. The process includes:
- Open Raydium’s website.
- Connect your wallet.
- Input the Market ID created earlier.
- Choose tokens and input quantities.
- Confirm via wallet.
Why Choose Raydium V2: V2 pools are stable and widely supported, unlike the newer V3, which may lack visibility and stability.
8. Burn Liquidity Pool Tokens (Burn Pool)
To gain community trust, burn your liquidity pool tokens (LP). This ensures that the pool cannot be withdrawn.
- Open the SlerfTools Burn Tool Page: https://slerf.tools/en-us/token-burner/solana
- Connect your wallet, select the LP tokens, input the quantity, and confirm.
9. Monitor Token Prices
After completing the token launch, use third-party tools to track your token's price trends:
- Dexscreener: Popular and widely used by both domestic and international users.
- Ave: Primarily for domestic users, with paid options for enhanced features.
- Birdeye: Excellent Solana-focused tool integrated with JUP.
- Gmgn: A newer platform offering detailed token information for free.
10. Manage Market Cap and Trading Volume
Use tools like SlerfTools' Market Cap Management Bot to manage token prices and trading volume. This involves batch transactions from multiple wallets to maintain price ranges and improve trading metrics.
Note: Currently, SlerfTools supports market management only on Raydium V2, with future updates expected for V3 compatibility.
4. Conclusion
Launching a token on Solana involves more than just creating the token. It includes post-launch marketing, promotion, liquidity management, and market monitoring. Token creation is merely the first step; managing and optimizing your token’s ecosystem is essential to success.
Get started today with SlerfTools, and take your first step toward building a successful project on Solana!